
- October 12, 2026
- Posted by: wellcoindustries
- Categories: Burlap, Erosion Control
An existing burlap sack can be used as a temporary garden container when its source is known, the fabric and seams are sound, and the setup can drain freely. Before adding potting mix, check what the sack previously held, whether it has a coating or liner, and whether it carries odors, stains or treatment information you cannot explain. If the history is uncertain, especially for an edible crop, choose a purpose-made planting container instead.
This guide focuses on one task: assessing and setting up an existing burlap sack as a temporary planter. For the material definition, see what a burlap sack is. For broader wrapping, covering and planting uses, see ways to use burlap bags for plants.
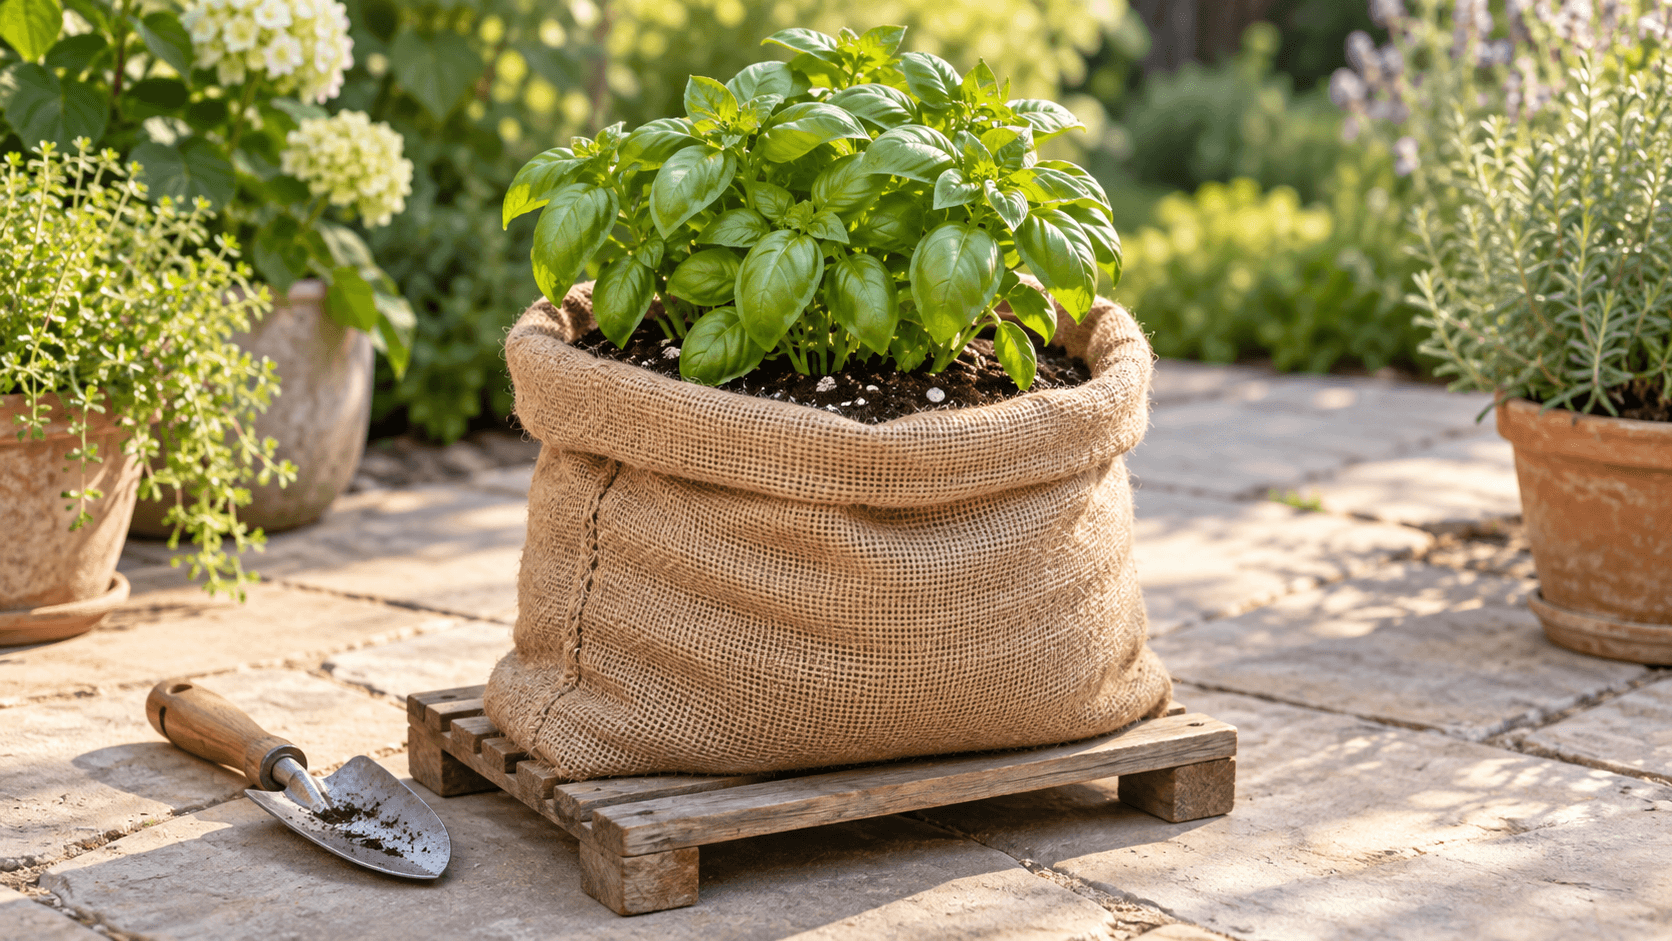
Decide Whether the Sack Is Suitable Before You Fill It
The first decision is not what to plant. It is whether the sack is a suitable container at all.
University of Illinois Extension advises that vegetable containers need good drainage and should not contain chemicals that are toxic to plants or people. It also recommends cleaning used or recycled containers before reuse. These principles help screen a reused container, but they do not establish that a sack with an unknown history or treatment is suitable for growing edible crops.
Use this screening table before setup:
| What you find | Decision |
|---|---|
| Known, clean previous use; no unexplained odor, oily residue or treatment label; seams and base are intact | Continue to a drainage and stability test |
| Loose weave that sheds fine potting mix, but the sack is otherwise sound and its source is known | Add a planting-suitable permeable liner that does not block drainage |
| Waterproof coating, sealed plastic liner or treatment that may restrict drainage | Do not use it unless the material and drainage design are verified for the intended planting use |
| Unknown previous contents, chemical odor, oily staining, mold that remains after cleaning, or an unreadable treatment label | Reject it for edible planting; replace it if the risk cannot be resolved |
| Frayed base, opening seams or weakened lifting points | Do not fill it as a freestanding planter |
Cleaning can remove dirt and some plant pathogens. It cannot establish the identity of an unknown coating, treatment or previous cargo. When the source cannot be verified, replacing the sack is the more reliable control.
A known previous use does not necessarily explain how the fabric was manufactured or treated. Check available labels or supplier information as well as the sack’s visible condition.
Treat an Ordinary Burlap Sack as a Temporary Container
An ordinary sack is not automatically equivalent to a commercial fabric grow bag. A purpose-made grow bag may have a specified fabric, reinforced seams, handles and a stated container volume. A reused or general-purpose burlap sack may have none of those controls.
That difference affects how the container should be managed:
- the weave may allow fine growing medium to escape;
- a porous wall can lose moisture faster than a nonporous container;
- wet fabric and seams can weaken over time;
- the filled sack may be difficult to move without tearing; and
- the useful period cannot be predicted from appearance alone.
Illinois Extension notes that porous container materials lose water faster than nonporous materials, and that material choice changes maintenance needs. Use that as a monitoring principle, not as a performance claim for every burlap sack. Plan to inspect moisture and fabric condition more often after planting and after major weather changes.
Set Up a Burlap Sack Planter Step by Step
1. Choose the plant before choosing the fill level
Start with the mature root space, light and support needs of the plant. A sack that is adequate for a compact herb may not provide enough stable volume for a large, top-heavy crop. Follow the seed packet or transplant guidance for planting depth, spacing and light instead of assigning one crop to every sack of a similar-looking size.
If the sack has no reliable dimensions or volume, do not estimate capacity from a product name. Open it into the shape it will hold, check the usable depth and width, and select a plant that can mature within that space.
2. Put the empty sack in its final position
Position the sack before filling it. Choose a level surface where drainage water can leave without creating a slip hazard, staining a sensitive surface or collecting beneath the container. If the base would sit in standing water, place the sack on a stable, load-bearing support that keeps the drainage path open.
Do not rely on the sack rim or loose fabric as a handle after filling. If the planter may need to move, place it on a suitable platform first and confirm that the platform can carry the finished load.
3. Test the drainage path
The container must release excess water while retaining enough growing medium to support roots. If the weave is very open, use a permeable inner layer that is suitable for planting and secure it so it does not collapse over the drainage path. Avoid a sealed liner unless it has a verified drainage design.
Before filling the entire sack, add a small amount of moist potting mix and water it. Confirm that water exits the base and lower sides without pooling and that unacceptable amounts of mix do not wash out.
Do not add gravel or other coarse material as a bottom layer to “improve” drainage. A 10-Minute University handout prepared by the Oregon Master Gardener Association’s Clackamas County Chapter in cooperation with Oregon State University Extension Service explains that a coarse layer under potting mix can inhibit drainage because of how water moves through different textures. Use a suitable potting or planter mix and keep the actual outlet path open.
4. Use container growing medium, not a fixed homemade recipe
Use a potting or planter mix intended for containers. The exact mix should reflect the plant, climate and irrigation method. Oregon State University Extension recommends a light, coarse-textured potting or planter mix for drainage and advises against using garden soil alone in containers because it can restrict drainage and air movement.
This article does not prescribe one percentage recipe. Mix components vary, and a formula that works in a cool protected site may behave differently in a hot, windy location. The useful test is performance after watering: the medium should accept water, drain excess water and remain aerated rather than forming a dense, waterlogged mass.
Check whether the packaged potting mix already contains fertilizer. Plan any additional feeding for the selected crop and growing period, and follow the fertilizer label rather than adding compost or fertilizer by a fixed recipe.
5. Fill without overpacking
Hold the sack in its intended shape and add pre-moistened potting mix in stages. Settle it gently by hand, but do not compress it into a hard block. Leave practical room at the top for watering without immediate overflow.
Recheck the base and seams as the load increases. Stop if the sack distorts, a seam begins to open or the support surface becomes unstable.
At the intended fill depth, moisten the mix and repeat the drainage and stability check before planting. The preliminary test identifies obvious leakage or blockage; it does not establish how a fully filled planter will perform.
6. Plant according to the crop, not the sack
Plant at the depth and spacing recommended for the selected seed or transplant. Add support for a crop that will become top-heavy, and install that support without relying on weakened fabric to carry the load.
Water slowly after planting and watch the entire container. The useful result is even wetting followed by visible drainage, not a fixed number of gallons or minutes.
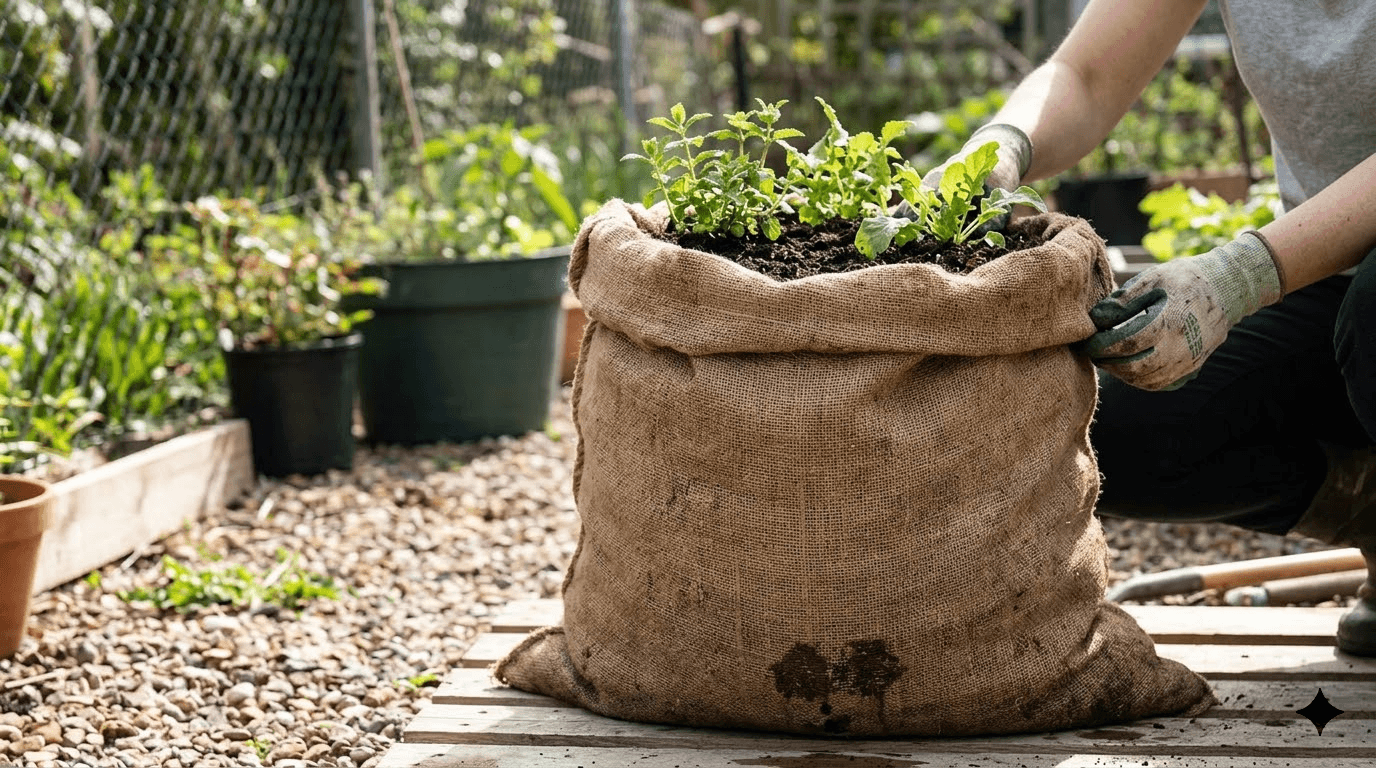
Manage Water by Observation
Container moisture changes with plant size, weather, wind, sun exposure, growing medium, sack volume and fabric condition. A calendar alone cannot account for those variables.
University of Minnesota Extension states that container plants may need water more than once a day in hot, dry weather, while also warning that most prefer moist rather than soggy soil. It recommends considering container size and material when checking moisture.
Use this observation sequence:
- Check the growing medium below the surface rather than judging by fabric color alone.
- Compare the moisture reading with the plant’s condition and recent weather.
- If water is needed, apply it slowly enough for the medium to absorb it.
- Confirm that excess water leaves the container.
- Recheck after heat, strong wind, heavy rain or a major increase in plant growth.
| Observation | What it may indicate | Next action |
|---|---|---|
| Surface is dry but the medium below remains moist | Surface evaporation, not necessarily a dry root zone | Recheck later; do not water from surface appearance alone |
| The root-zone medium is dry and the planter has clearly lost moisture | Water has been depleted | Water slowly, confirm even wetting and verify drainage; do not lift a filled sack by its rim to judge weight |
| Water pools on top or the lower area stays saturated | Compacted mix, blocked drainage or a restrictive liner | Stop routine watering; inspect the medium, liner and drainage path |
| Fine mix continues to wash through the weave | Open weave, a displaced liner or damaged fabric | Stabilize the planter and identify the cause. If loss continues, support the root mass and transfer the plant to a suitable container rather than pulling a new liner into a filled sack |
| Plant wilts while the medium is still wet | The problem may not be simple water shortage | Check drainage, heat, roots and plant health before adding more water |
The table is a diagnostic aid, not a replacement for crop-specific guidance.
Inspect the Sack as Well as the Plant
Because this is a temporary fabric container, include the sack in routine plant checks.
Inspect these points:
- the bottom area that remains wet longest;
- vertical and bottom seams;
- folds where moisture and debris collect;
- the liner, if one is used;
- the support platform and drainage path; and
- any area being pulled by a stake, tie or attempted lift.
Move the plant to a sound container before a weakened sack releases its contents. Look for visible deterioration compared with its initial condition, opening seams, tearing under the filled load or failure to retain the growing medium. A persistent musty odor is a reason to inspect drainage, residues and fabric condition, but odor alone does not establish structural failure. Support the root mass and repot rather than trying to lift the full sack by its rim.
Adjust the Setup When Conditions Change
A setup that drains and stays evenly moist in spring may dry much faster during hot or windy weather. The same sack may stay wet too long after prolonged rain or after being moved into shade. Recheck the watering decision whenever exposure changes.
Mulch may reduce surface evaporation and moderate surface temperature, according to University of Minnesota Extension. If mulch is appropriate for the selected plant, keep it from blocking inspection of the stem base and do not use it to hide a drainage problem.
At the end of the growing period, empty or repot before the sack becomes structurally unreliable. Do not assume that an unknown sack belongs in compost. Coatings, synthetic stitching, labels and prior contents must be identified before making a disposal decision.
A Practical Pre-Plant Checklist
Before planting, confirm all of the following:
- The sack’s source and previous contents are known.
- No unexplained treatment, coating, odor or contamination remains.
- The base and seams can support the filled container.
- The selected plant has adequate root space and suitable site conditions.
- The growing medium is designed for containers.
- Water can leave the sack without carrying away excessive mix.
- The sack is already on a stable final support.
- You have a plan to check moisture and fabric condition after weather changes.
- A sound replacement container is available if the sack begins to fail.
If any item cannot be confirmed, resolve it before adding a plant. For edible crops, an unknown sack history is a reason to use a purpose-made container.
Need Burlap Rolls for Another Gardening Project?
For gardening or landscaping work that needs continuous fabric for wrapping, covering or another fabric-based application, explore our burlap fabric roll options.
Send us the intended use, required width and length or coverage area, quantity, packaging requirements and delivery location so our team can review the roll requirement.
References
- University of Illinois Extension, Vegetable Containers.
- University of Illinois Extension, Container Material Choices.
- Oregon Master Gardener Association, Clackamas County Chapter, in cooperation with Oregon State University Extension Service, Container Planting.
- University of Minnesota Extension, Fertilizing and Watering Container Plants.
- University of Maryland Extension, Growing Vegetables in Containers and Salad Tables.