
- September 17, 2026
- Posted by: wellcoindustries
- Categories: Erosion Control, Jute Mesh
Jute netting installation on a slope is a project-specific process. The installer must prepare the surface, maintain close contact with the soil, place the rolls according to the project documents and product instructions, secure the terminations and overlaps, and inspect the work after installation. The framework below explains the sequence without replacing engineering design, permits, governing specifications, or instructions for the selected product.
Before You Start
Confirm that the material being installed is the intended open-weave jute netting or jute mesh. It is not automatically interchangeable with tightly woven burlap, coir matting, straw blankets, synthetic netting, geotextiles, or geogrids. You can review the jute netting product details before preparing a project request.
Collect the project information that controls installation:
- the slope, soil surface, existing erosion, and drainage pattern;
- expected sheet flow, concentrated runoff, or water exposure;
- the seeding, planting, or mulch plan;
- the required product construction, model or grade, roll dimensions, and quantity;
- project drawings, agency requirements, permits, and submittal documents; and
- delivery, packaging, labeling, or documentation requirements.
If the site has deep movement, concentrated flow, unstable soil, or a regulated waterway, resolve the design and approval requirements before treating jute netting as the installation solution. A rolled surface treatment is not a substitute for structural slope stabilization or hydraulic design.
Step 1: Assess and Prepare the Slope
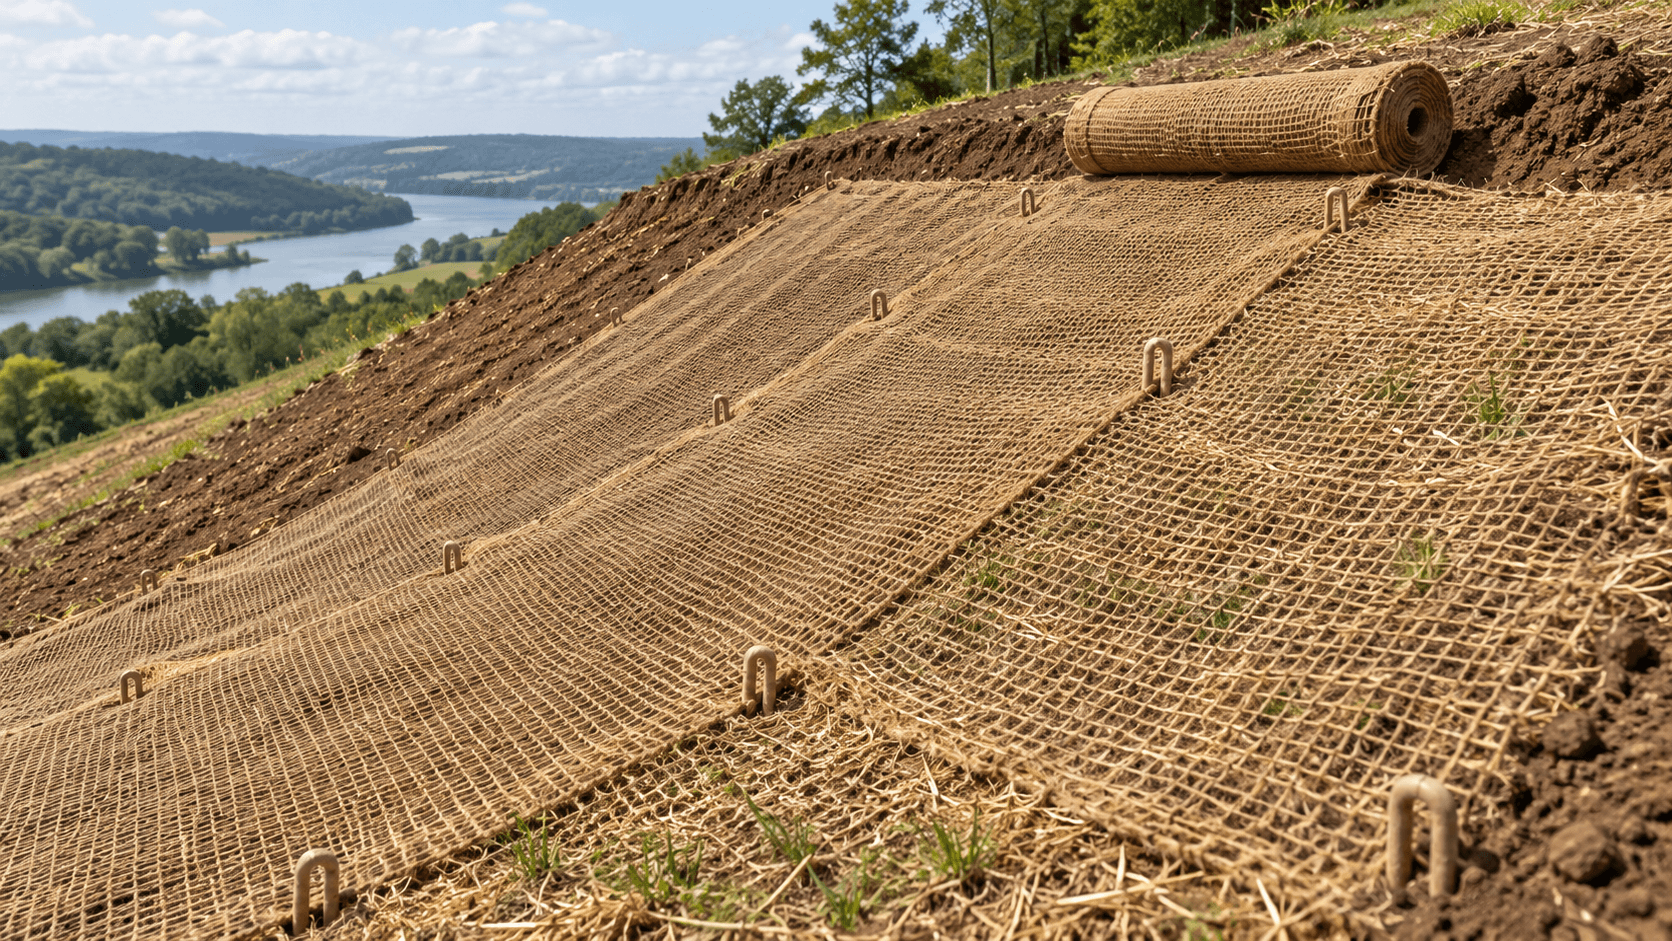
Inspect the area for large rocks, debris, roots, voids, rills, gullies, and other obstructions that could hold the mesh above the soil. Prepare a reasonably smooth surface so the selected material can remain in contact with the ground.
Address drainage, soil deficiencies, and active slope movement through the project design. Caltrans describes jute mesh as a surface treatment and notes that rocks or debris can create a gap beneath the material, while compacted, nutrient-deficient, or poorly draining soil may still require separate treatment.[1]
Do not disturb more of the site than the project requires. Any grading, soil amendment, drainage work, or vegetation preparation should follow the project plan and local requirements.
Step 2: Plan Roll Direction and Terminations
Determine the roll direction from the drawings, specification, and selected product instructions. The NRCS wildfire-recovery guide cited here shows rolls running up and down the slope. Follow the layout specified for the selected product and project.[2]
Before unrolling material, mark the top termination, side edges, bottom termination, and any end-to-end joins. Plan how the material will be keyed, trenched, or otherwise terminated at the top and toe. There is no single trench depth, anchor spacing, or termination detail that can be applied safely to every product and site.
Where water flows adjacent to or across the treatment area, the project designer should determine the appropriate overlap direction and edge protection. Do not adapt a general slope detail to a channel or streambank without the required hydraulic and permit review.
Step 3: Place Seed, Planting Material, or Mulch as Specified
Follow the project’s seeding and mulch sequence. Caltrans describes seed application either before or after its jute-mesh treatment because of the open structure.[1] The NRCS example places jute netting over straw or other mulch.[2] Do not assume that the seeding sequence also determines when mulch should be placed.
Do not assume that the netting supplies the seed, corrects poor soil, or replaces mulch, compost, or other specified soil measures. The vegetation plan should identify the seed or planting material, soil preparation, and establishment method.
Step 4: Place the First Roll and Secure the Top Edge
Start at the termination identified in the project documents. Unroll the material in the planned direction and keep it flat, aligned, and in contact with the prepared surface. Avoid folds, bridging, exposed gaps, and unnecessary stretching.
Secure the top edge with the approved trench, key-in, pins, staples, stakes, or other detail shown in the drawings or product instructions. Backfill and compact a trench only when that detail is specified. Use fasteners that are suitable for the site and approved for the selected product; do not copy a generic fastener length or spacing from another project.
Step 5: Install Additional Rolls and Overlaps
Continue across the treatment area while maintaining the planned direction and soil contact. Identify side laps between adjacent strips and end laps where one roll continues another. Follow the approved detail for overlap width, which sheet lies on top, fastening, and termination. Check that the joint does not leave an exposed edge that directs runoff beneath the netting.
Secure the overlap areas according to the approved detail to reduce the risk of wind or runoff lifting the material. For water-adjacent work, a separate hydraulic or permit detail may specify a shingled overlap away from the direction of flow. Treat streambank or channel overlaps as a project-specific detail rather than a rule for ordinary slopes.[3]
Step 6: Secure Edges, Bottoms, and Ends
Complete the side edges, bottom or toe, and any end terminations shown in the project detail. Check that the treatment extends far enough beyond the visibly affected area for the design and that runoff cannot enter behind an unprotected edge.
Use the specified anchors and termination method. The goal is to maintain soil contact and limit runoff entry beneath the netting through exposed edges or joints. A qualified project designer should determine whether additional toe protection, drainage, or structural measures are required.
Step 7: Inspect the Completed Installation
Before leaving the site, check the entire treatment for:
- soil contact beneath the mesh;
- folds, voids, lifted edges, and exposed seams;
- secure top, side, bottom, and end terminations;
- correctly formed and fastened overlaps;
- drainage paths that could bypass or undermine the treatment; and
- compatibility with the seeding, planting, and mulch plan.
Document any areas that need correction. Reinspect after significant rain, wind, or other site events specified by the project plan. Maintenance should follow the selected product instructions and the project inspection requirements.
Installation Conditions That Need Extra Review
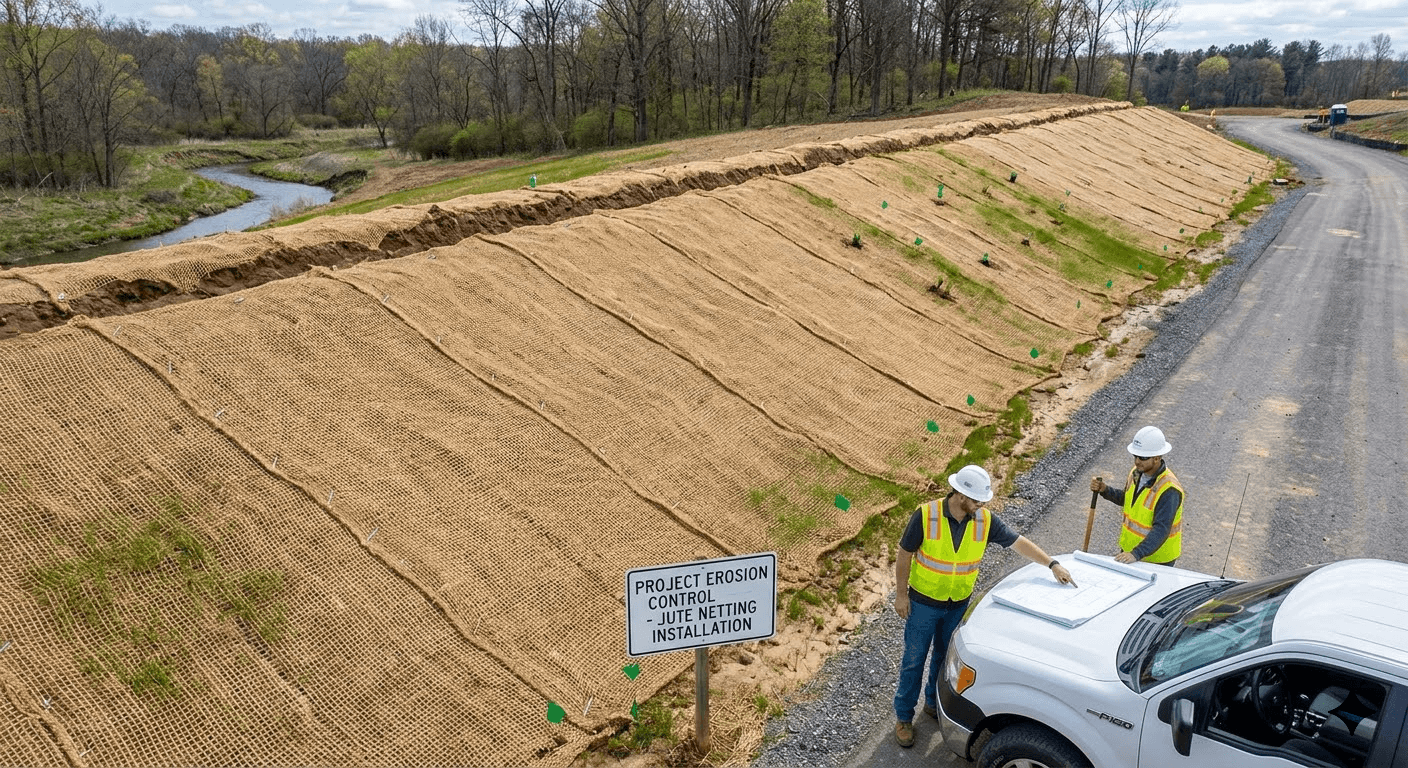
Jute netting should not be treated as a universal answer when the site involves:
- concentrated or high-energy runoff;
- deep-seated slope movement or a need for structural reinforcement;
- loose rock, debris, roots, or voids that prevent soil contact;
- a stream, channel, floodplain, or other regulated water exposure;
- a specification that names a different erosion-control product or performance class; or
- composition, biodegradation, wildlife, or plastic-content requirements that are not confirmed for the exact product.
For these situations, obtain the project-specific engineering, environmental, and approval information before installation. Caltrans directs users to responsible hydraulic engineering review for certain stream or channel applications.[1]
Project Installation Checklist
Use this checklist when preparing an installation request or site review:
- Confirm the intended product form, model or grade, roll dimensions, and quantity.
- Record the application area, slope, soil condition, and existing surface obstructions.
- Describe expected water, runoff, rainfall, or channel exposure.
- Confirm the seed, planting, mulch, and soil-preparation plan.
- Mark top, side, toe, and end termination details on the project drawing.
- Confirm the required overlap, anchor, trench, key-in, and fastener details from the governing documents.
- Identify inspection and maintenance checks after installation.
- Provide the delivery location, required timeline, and documentation requirements.
Frequently Asked Questions
Should jute netting run up and down a slope or across it?
Many general guidance documents show rolls running up and down the slope, but the project specification and selected product instructions control. Do not change the orientation when a drawing, agency detail, or engineer specifies another arrangement.[2]
How much should jute netting overlap, and how far apart should anchors be?
Use the overlap width and anchor spacing specified in the governing project documents and the instructions for the selected material. If the detail is missing or conflicts with the product instructions, obtain clarification from the responsible project professional before installation.
Should seed be placed before or after the netting?
It depends on the project plan and material. Caltrans notes that seed may be applied before or after a jute mesh treatment, while the NRCS example places jute netting over straw or other mulch. Follow the approved sequence for the selected site and product.[1][2]
Can this installation method be used in a channel or on a streambank?
Not automatically. Channel and streambank work requires project-specific hydraulic, environmental, and permit review. The general slope sequence on this page is not a substitute for that design.[1][3]
Does installing jute netting guarantee erosion control or vegetation establishment?
No. Jute netting is a surface-treatment component whose suitability depends on soil contact, drainage, runoff, vegetation planning, product construction, installation quality, and project requirements. It should not be presented as a guarantee of a project result.
Review Product and Project Requirements
For a product review, see our jute netting product details. A product or project review should be completed before selecting the installation detail.
Send us the application, area, slope and soil conditions, expected water exposure, vegetation objective, required roll dimensions or model, quantity, project documents, and delivery location so the relevant product options can be confirmed for your requirement.
References
- California Department of Transportation, “Erosion Control Toolbox: Rolled Erosion Control Product (Jute Mesh)”
- USDA Natural Resources Conservation Service, “Wildfire Recovery Tips,” Jute Netting section
- USDA Natural Resources Conservation Service, “The Practical Streambank Bioengineering Guide,” Erosion Control Fabric section